MAC At-A-Glance
[November] 11/26 - Monogram - MAC's annual couture collection, 11/30 - Perfect Style
[December] 12/26 - Dame Edna, Chill
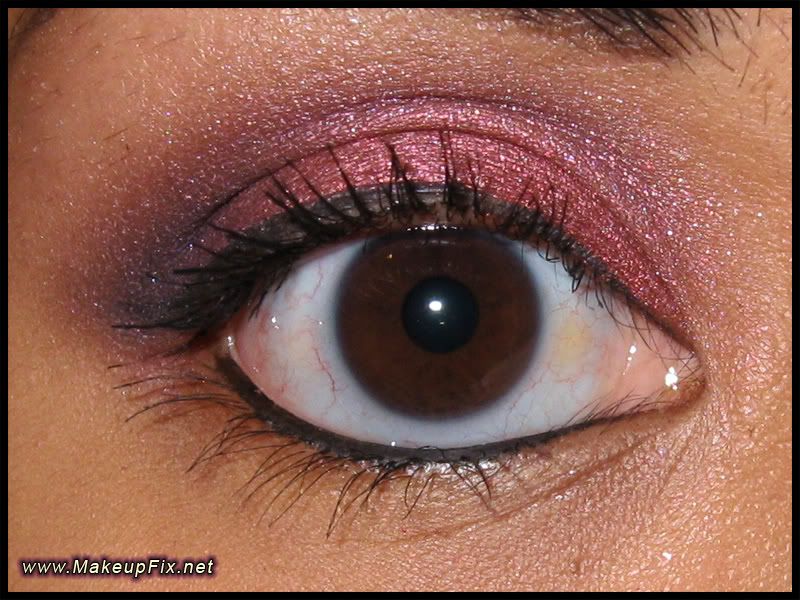
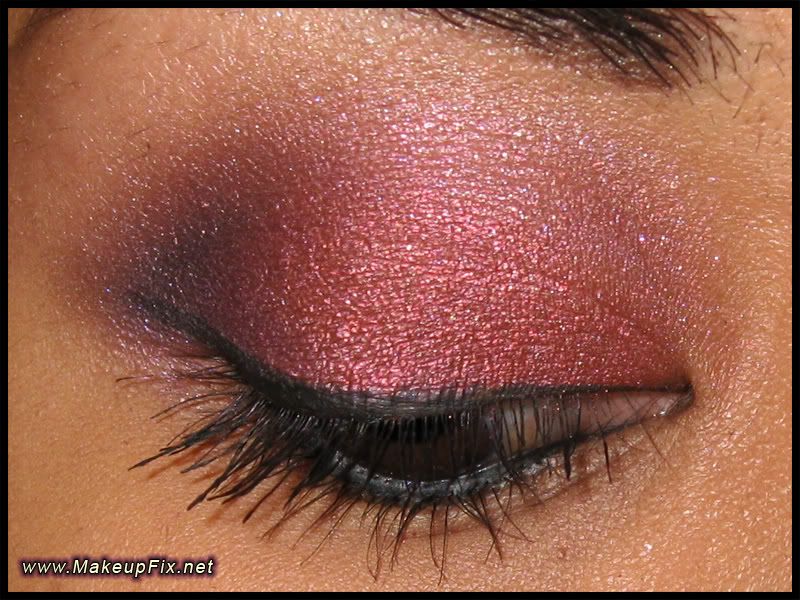
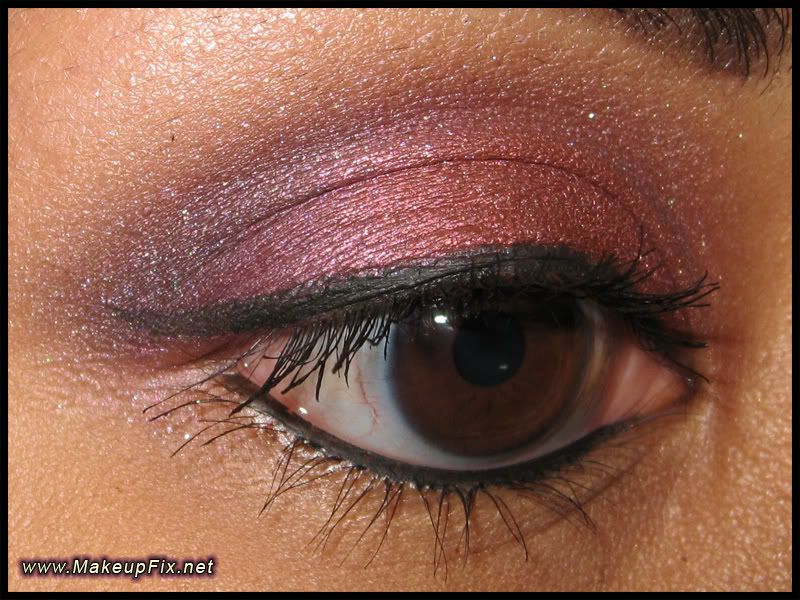
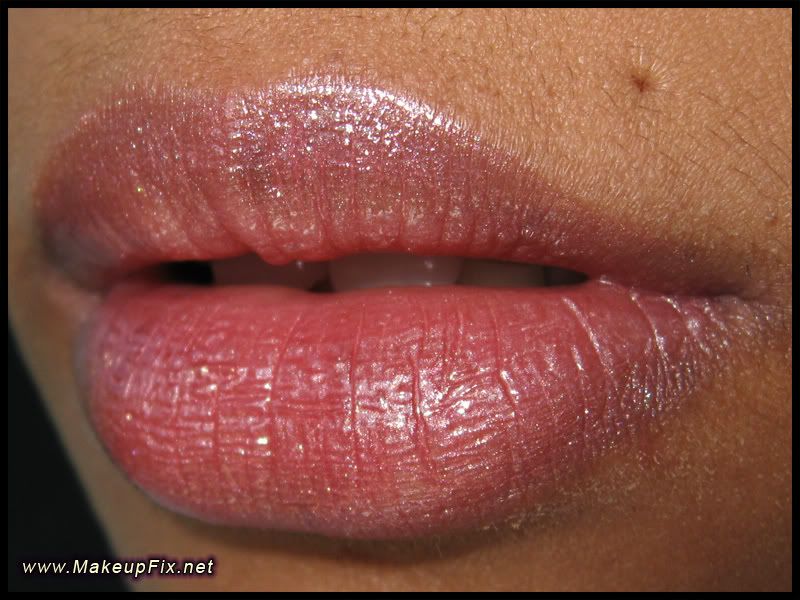
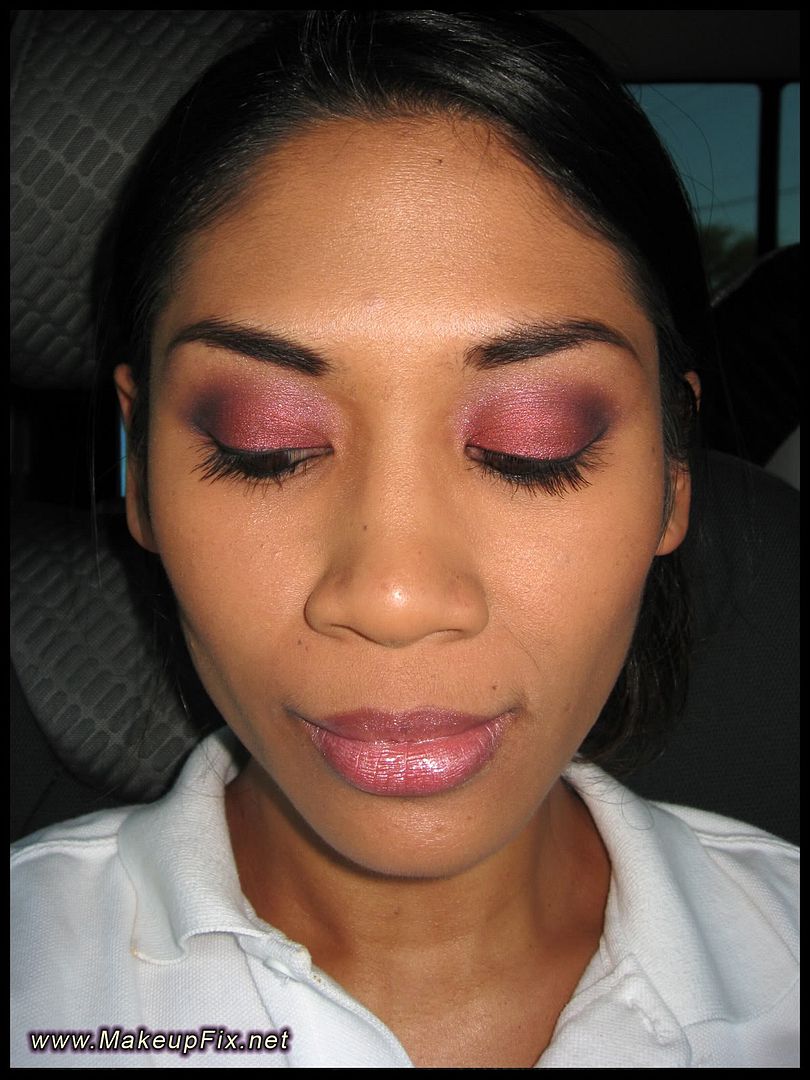
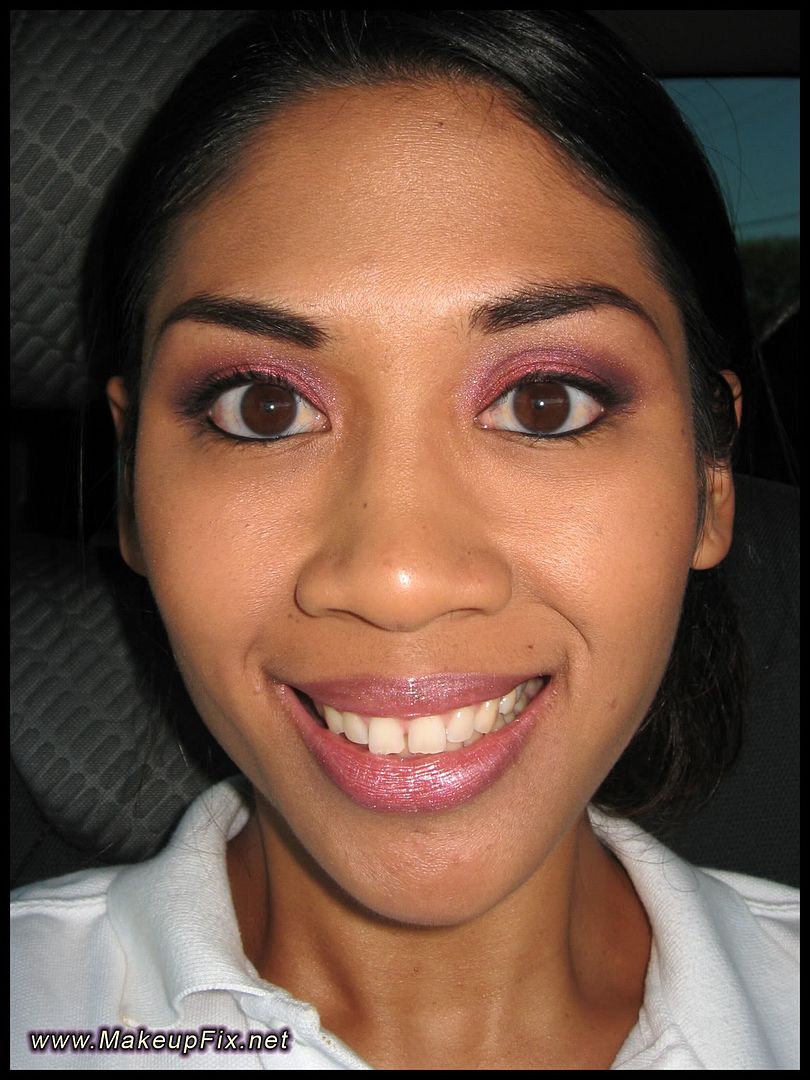
I was asked by a co-worker a couple of weeks to work the colors red, purple, and black together. So I got to the challenge and out came this! This was done a couple of weeks ago so my hair is still in it's long state.
(all MAC unless otherwise stated)
FACE
Studio Finish Concealer NW35 (ring finger)
Buff'd Camel (188)
Buff'd Serecite Mineral Setting Powder (188)
True Romantic Beauty Powder Blush (129)
BROWS
STILA Brow Set (266)
EYES
UDPP
Nice Vice p/p (lid - 252)
Red of Mi'Lady MES (lid - 239)
Purple of Mi'Lady MES e/s (crease - 222)
Nocturnelle e/s (outer lid - 239, 222)
Shroom e/s (highlight - 239)
Carbon e/s (outer crease - 219)
Blacktrack f/l (upper lashline & waterline - 208)
Covergirl Lash Blast
LIPS
NYX Thalia
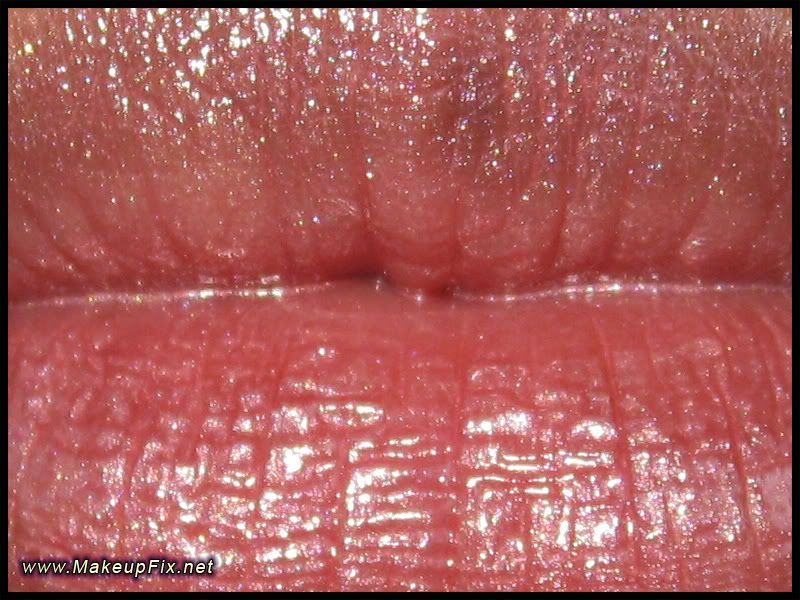
J.Lynne Gloss FX Lip Glaze in Hilary


Have the hots for this look also? Here's how you can get it!
Brushes You'll Need:
- MAC 242 (or 252)
- MAC 239
- MAC 222 (or 224)
- MAC 219
- MAC 208
Eye Products You'll Need:
- Nice Vice p/p
- Red of Mi'Lady MES
- Purple of Mi'Lady MES
- Nocturnelle e/s
- Carbon e/s
- Shroom e/s (or highlighter of your choice)
- Blacktrack f/l
- Graphblack Technakohl
How To Get The Eyes:
- With a firm bristle brush like the MAC 242 (or it's big sister the MAC 252), apply Nice Vice p/p to the lid blending out the edges. For more pigmented paint pots, I use a smaller brush head (MAC 242) and for less pigmented paint pots like Painterly, I use a bigger brush head (MAC 252). This is to keep the potential color mess in check.
- Using an eyeshadow brush such as the MAC 239, apply the Red of Mi'Lady MES on the lid pulling the color up towards the crease.
- With the MAC 222 blending brush, pick up some of the Purple of the Mi'Lady MES and blend into the crease. This will blend out the edges of the red.
- Pick up some Nocturnelle e/s with a MAC 239 and apply to the outer 1/3 of the lid. Pull the color up into the crease for easier blending.
- Then using a MAC 222, pick up a little Nocturnelle and blend into the outer crease to darken it. This will eventually meet up the Purple of the Mi'Lady MES blending during Step 3.
- Dot a pencil brush such as the MAC 219 into Carbon e/s and draw a line from the outer corner of the crease towards the middle of the lid. Blend the line out with the side of the pencil brush.
- Highlight with Shroom e/s.
- Line upper lashline with Blacktrack f/l using an angled brush. I used the MAC 208.
- Dip the tip of an eyeliner pencil (I used my Graphblack Technakohl) into the Blacktrack f/l and line the waterline.
- Curl eyelashes and add your favorite mascara!
Is there a combo you have the hots for?
Aloha,
Mrs. Lynne
Do you propose a color challenge? Then please
email us your request! And don't forget to
subscribe to our feed or have
email updates sent directly to your inbox.
Share and Enjoy your MakeupFix!
As requested by Kia over at yummy411, here is the tutorial for the eyes used in my recent Red Glam FOTD. I apologize ahead of time for some of the shots where my eye isn't relaxed and completely shut. Scary, I know!
Products you'll need:
Shimmersand s/s (or any base of your choice)
Daisy Chain e/s (soft pale yellow)
Goldmine e/s (golden yellow)
Ochre Style e/s (dirty golden yellow)
A Little Folie e/s (red-toned brown)
Signed, Sealed e/s (heavyset maroon)
Blacktrack f/l (black gel eyeliner)Graphblack Technakohl (heavy black eye pencil)
L'Oreal Voluminous (or mascara of your choice)
Red Cherry Eyelashes #119 (or false eyelashes of your choice)
Brushes you'll need:
MAC 239 - dense packing brush
MAC 217 - blending brush
MAC 219 - pencil tip brush
MAC 208 - dense angle brush
Step 1: Apply base to the lid. In this case, I used Shimmersand Shadestick. This will allow the eyeshadows placed on top to adhere to the eyelid allowing the colors to represent their truest color. If using a Shadestick, be sure to smooth out the clumps if any form. Normally I would apply an additional base like Urban Decay's Primer Potion (UDPP) first all the way up to the brow bone, but in this instance, putting UDPP under the Shadestick would make an already drying Shadestick much drier and very difficult to work with. You can apply the base of your choice up to the brow bone. I decided to just use Shimmersand on my lid only. The highlight color will actually adhere to my skin without any base - weird eyelids!

Step 2: Using a dense packing brush like MAC's 239, apply Daisychain e/s (soft pale yellow) to the inner 3rd of the lid. You can work this eyeshadow a little above the crease so that when we blend the inner crease later, it will have something to blend with.

Step 3: Again, using my MAC 239, I apply Goldmine e/s (golden yellow) to the middle of the lid starting a little above the crease and working the color down to the upper lashline. After applying a solid brick of color in the middle of the lid, SOFTLY blend the Goldmine e/s into Daisychain e/s just a little bit to rid the harsh line. I do this by just wiggling my 239 over where Goldmine e/s and Daisychain e/s meet.

Step 4: Using a blending brush like the MAC 217, pick up some Ochre Style e/s (dirty golden yellow) and blend, starting from the outer edge of Goldmine, the edges of Goldmine and Daisychain e/s along the crease towards the bridge of the nose. Use the brush horizontally to achieve this. Once you get closer to the tear duct, you want to maintain the color of Daisychain e/s so be sure to blend Ochre Style e/s just above it.

Step 5: Using the MAC 217 again except vertically, apply A Little Folie e/s (red-toned brown) to the outer 3rd of the lid making sure to deposit the color at the very outer edge of the lid EVERY time you grab color and GENTLY sweep the color in towards Goldmine. This motion alone with automatically blend A Little Folie with Goldmine e/s.

Step 6: Switching the 217 back to a horizontal position AND WITHOUT picking up more color, GENTLY blend A Little Folie e/s in a soft, circular motion across the crease stopping at the inner edge of Goldmine e/s. Remember, we already blended Ochre Style e/s on the inner crease already. Should you need to pick up more A Little Folie e/s, make sure to deposit the color ONLY over the outer crease of the lid where A Little Folie is initially placed. Doing this will emphasize the depth of your eyes in the outer edges.

Step 7: Time for the pencil brush or MAC's 219. Dot this a couple times into Signed, Sealed e/s (heavyset Maroon) and draw a line at the very edge of the lid. This line (or draw a really big dot) should not be long vertically as you do not want it to go too high above the crease. Make sure the color is really in there.

Step 8: Dot the brush again in Signed, Sealed e/s and doing a quick snap of the wrist, gently flick the color away from the deposit point fading the color as you sweep. When flicking, lightly lift the brush up to achieve this effect. Think gradient :) Deepen the deposit point as much as you want but make sure you flick and lift the brush from that point on.

Step 9: Starting from the top of the Signed, Sealed deposit point, gently blend it around the edge of the orbital area of the eye. This should be where the crease color (A Little Folie & Ochre Style) meet the lid colors. Be sure to fade as you work towards the inner lid.

This is how it should look up to this point.

Step 10: Add the highlight color of your choice. I used Daisychain e/s and applied it with my 239 brush. Since my colors are blended for the most part, I apply Daisychain right underneath my eyebrows and pull the color towards the crease but not too much to make it look over blended.

Step 11: Using an angle brush like the 208, or any black eyeliner of your choice, line your upper lashline.

Step 12: Line the waterline with a heavy black liner. I used MAC's Graphblack Technakohl.

Step 13: Curl the lashes and add mascara! I spy a stubborn lash!!

Step 14: Add the wings and VOILA! You're ready to fly away :)


After fixing the rest of the face with some blush and daring red lips, you can now rock your own 50's glam!

Another weekend has come and gone folks! But here's to an exciting week ahead... cheers!
Aloha,
Mrs. Lynne
Share and Enjoy your MakeupFix!
One of my good friends back home was telling me how she liked the C-Shock FOTD done by Verdge. C-Shock is one of those collections that I wish was part of my collection. And the only way to get my paws on that now would be through a swap (but since I have nothing to "swap" that doesn't work too well for me), eBay, or a dupe set. My gal Vanessa found a really good dupe of C-Shock. And speak of the devil, as I just went to her site to link her, she just posted pictures of the shadows she bought of C-Shock, lol! I remember going into MAC during that promotion but I was so new to MAC that my friends Intimidation and Hesitation told me not to get it. Looking back, I should have listened to my friend Gut instead.
This is nowhere near the vibrancy of the C-Shock colors nor C-Shock looking, but I guess just thinking of how the collection was comprised of different bright colors inspired me to grab a color from each color of the rainbow (except orange) and just play. And I thought I'd try out my NYX Glitter Pallet. I'm not really impressed with it. A MAC Glitterliner would work waaay better. The pallet is not creamy whatsoever and in the pallet, the glitter looks like its laying on top of a sheet of glue.
Anyhow, I just put this on quickly so please try to look beyond the sloppy application. I was in a hurry to take a shower before it got any later, hah.
Aloha,
Mrs. Lynne
(all MAC unless stated otherwise)
EYESUDPP
Delft Paint Pot (lid - 242)
Steamy e/s (lid - 239)
Chrome Yellow e/s (inner V - 219)
Blue Jewel e/s (inner crease - 217)
Deep Truth e/s (outer V, crease - 217)
Vibrant Grape e/s (crease - 222)
Red of Mi'Lady MES (lower lashline - 219)
Blacktrack f/l (upper/lower lashline - 208)NYX Cream Glitter over Blacktrack (upper lashline - 266)L'Oreal Double Extend Base & Voluminous Mascara


Share and Enjoy your MakeupFix!